Place an image in an article or wiki page
To add an image to a page that you are creating or editing involves using the toolbar of the Body field while in Edit mode.
1. Navigate to the page where you want to add an image, or create a new page.
2. Click Edit at the top of the page.
3. Scroll down to the Body field where the toolbar is.
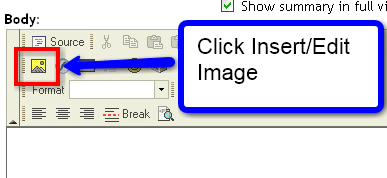
4. Select the Insert/Edit Image button
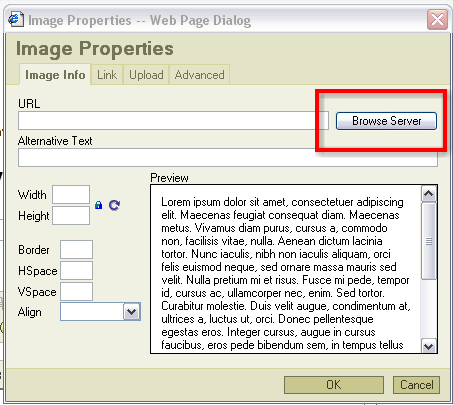
5. In the pop up window choose Browse Server
6. A new pop window will open
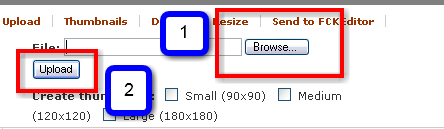
7. Click on Upload from the links at the top
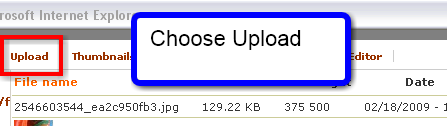
8. First choose Browse to search your local computer files. After selecting the right image click on Upload.
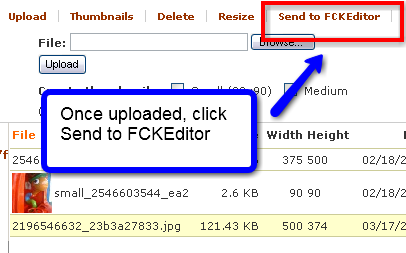
9. Once uploaded click on the Send to FCKEditor link and you will return back to the first pop up window.
10. Back in the first pop up window the URL is added for you. You can adjust the size of the image here by entering a new width or height. HSpace and VSpace will add some buffer around the image. A good range to try is between 5 and 20 for both. The Align option can be left as blank unless you want the text to wrap around the image, in that case choose Left from the drop down menu.
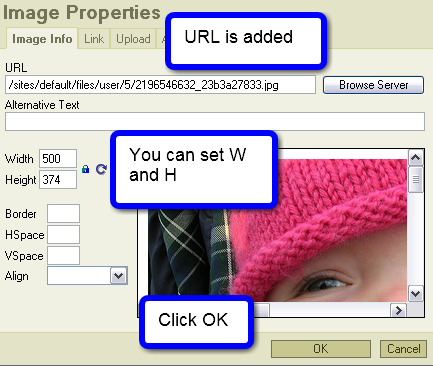
11. Click OK and your image is now on the page.
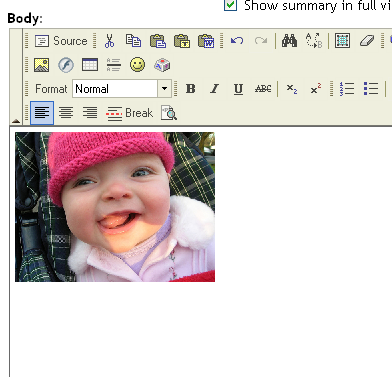
12. Finish by clicking Save at the very bottom of the page.
If you do not like the formating of your image once you see it in View mode it is easy to change. Click Edit at the top of the page. In the Body field, click on the image so that handles appear at the corners. Click the Insert/Edit button and you will see the formatting options for that image once again.